Wifey has been complaining that her MacBook is realllllly slow. Slow to load Firefox, slow to start iPhoto, slow to start mail. I decided to have a look at it the other day and noticed it only had 1GB of RAM. That’s not much at all… espeically when I see that she has many applications all running at the same time (often without realising it!).
Buying the RAM
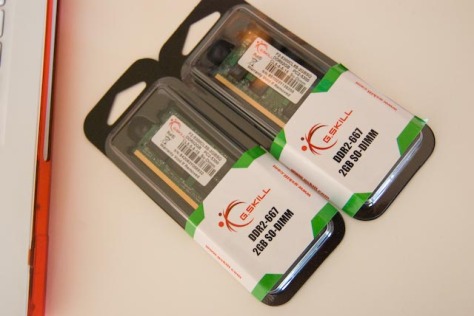
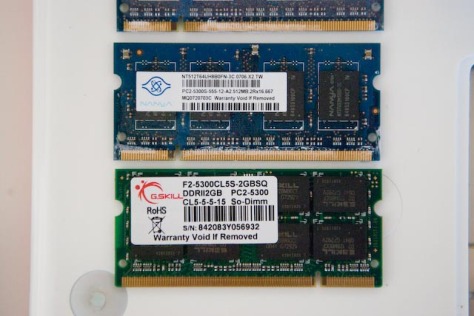
Last weekend, I googled around to find out how to upgrade the RAM. The Apple site has pretty clear instructions, so it was just a matter of buying the right type of RAM. For her MacBook, the type to get is DDR2 667MHz SO-DIMM (PC2-5300).
I decided to try buying RAM from the new MSY store in Balcatta. The store looks small, but they seem to have quite a lot of stock. The first thing that struck me as I walked in was how they had roped off multiple queues to the front counter – it must get pretty busy in there! The staff were really friendly and helpful. Unfortunately they were out of 2GB Kingston and Corsair sticks that I was after, but I was shown 3 other brands that they did have in stock, and I bought G.Skill in the end.
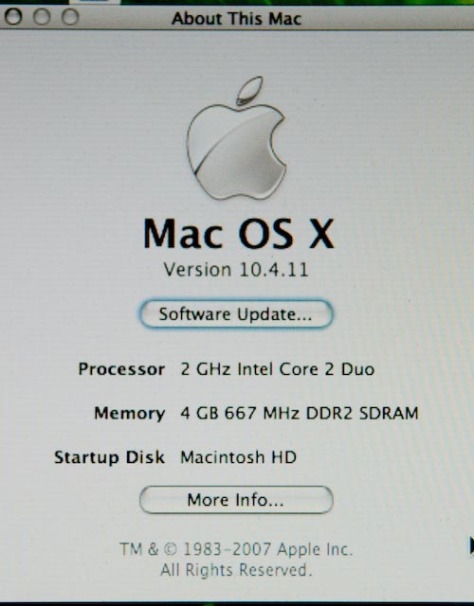
Each 2GB stick was $45, so the 4GB RAM upgrade came up to only $90 in the end!
Installing the RAM
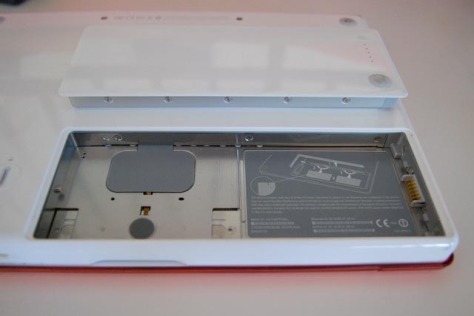
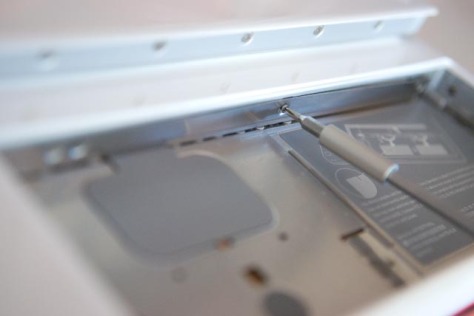
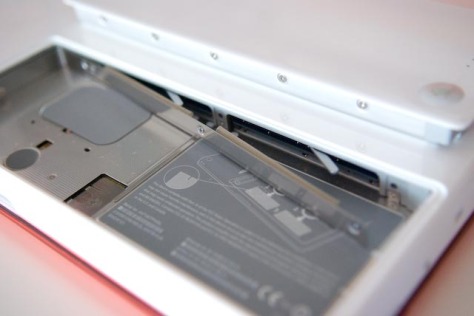
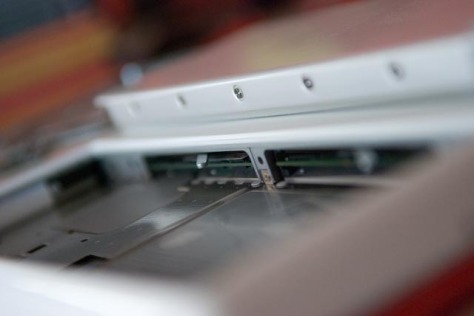
To install the RAM, I basically just followed the clear instructions found on the Apple site. Apple have really designed their MacBooks well. All I needed was a coin (or flathead screwdriver) to unlock the battery, and then a small Philips screwdriver to remove 3 screws, and that’s it!
Removing the existing RAM is very easy by pushing the levers in the MacBook. My only tip is – when putting in the new RAM, once you push it in gently, give it an extra push until the top of the RAM sits flush with the casing.
Performance Improvements
I did some timings of typical user actions that Wifey did before and after the RAM upgrade. Here are the results:
Power On – 32 secs with 1GB down to 31 secs with 4GB
Mail – 9 secs with 1GB down to 3 secs with 4GB
iPhoto – 33 secs with 1GB down to 19 secs with 4GB
Opening Firefox for the 2nd time – 14 secs with 1GB down to 2 secs with 4GB
Wifey already has noticed a speed improvement when using multiple applications. All good!
Step by Step
HI there,
I just did the same thing with my white macbook. However, my boot up speed has decreased significantly. Did this occur to yours? when you installed the RAM did you have to do anything else like PRAM reset or manual reset of the motherboard?
Thanks
@Shaun thanks for visiting! I found the boot up time was roughly the same, not any slower. I was surprised at this – maybe bootup is more cpu or disk limited? Unfortunately I’m not an expert at mac OS tuning so am not sure why you’re seeing boot times that are much slower. What happens if you put the original ram back in?
Hhaha, I didn\’t try. However, I did google it and i see that there are others who have experienced identical problems. I don\’t have my install disc with me as its in hostel and I\’m home for the vacation. So I\’ll see how it goes in the next few days.
Lucky you, no issues at all… =)
mac ram